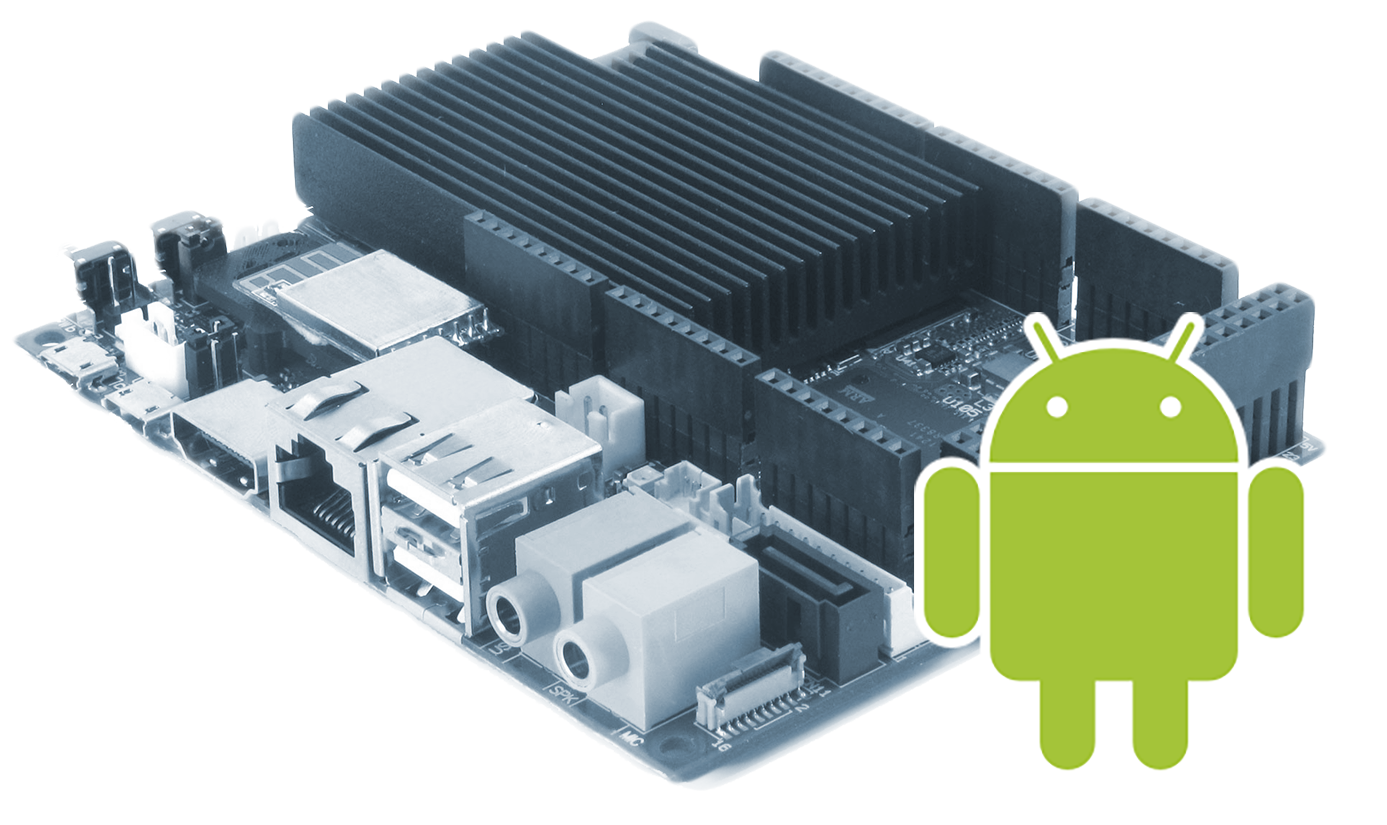
Hacking Android on the UDOO board for SATA and S/PDIF
April 03, 2015 Comments ↓ I recently came in possession of a UDOO Quad board.
For the ones who never heard about this, it is essentially a kind of quad-pumped Raspberry PI with some nice extras (a SATA port, an extra Atmel MCU, Ethernet, USB OTG).
The board is based on a Freescale i.MX6Q SoC, a Quad-core Cortex® A9.
The hardware onboard is pretty powerful compared to many other competitor boards.
Unfortunately, however, the software support for Android is lagging a bit.
In particular, in the latest image shipped by UDOO (Android JB 4.3 v2.0.2) both the SATA port and the S/PDIF digital audio output are not functional.
For this reason I spent some time working on a fork of the image and patched both the Kernel and the Android framework to fix it. All the work described here is based on the Android 4.3 Sources v2.0 (U-Boot, Kernel, File System) from udoo.org and is open-source, maintained in my GitHub account.
Improvements in this Image
- Patched kernel support for S/PDIF
- Enabled kernel support for SATA
- Fixed initrc to deal with SATA HDD
- Changed fstab.freescale to mount /data on /dev/sda1
Download SD image
SD card (2GB) image:
 udoo-android-4.3-v2.0-with-sata-img.zip
A 2 Gb SD card will suffice (/data is on the HDD). You should unzip and flash the image on the SD card as usual:
dd if=sdcard.img of=/dev/sdX bs=1M conv=fsync
The image has been built off my udoo-android-4.3-v2.0-with-sata branch.
Prepare the SATA HDD
The image requires both a SD card and a SATA HDD.
All the partitions (/boot, /system, /cache, ...) are mounted from the SD card as in the original image. The /data partition (the place where Android keeps downloaded apps, settings, downloads, music etc.), instead, is mounted from the SATA HDD.
In my opinion keeping the base system image on the SD card makes the hacking / development cycle easier, allowing to test a new kernel or Android base image by just swapping in another SD card.
The partition layout is defined in device/fsl/udoo/fstab.freescale
You can prepare your HDD on a Linux machine as follows:
# sdX is the name of the HDD you will attach to the board
sudo cfdisk /dev/sdX
# Create only one Linux partition which covers the entire HDD
sudo mkfs.ext4 /dev/sdX1
Building from sources
Here are some instructions if you want to get in hardcore Kernel / Android hacking.
I maintain a fork of the Android JB 4.3 Android image on GitHub:
https://github.com/primiano/udoo_platform_manifest
The following branches are available:
- udoo-android-4.3-v2.0 : the original image (some irrelevant projects stripped, see notes below).
- udoo-android-4.3-spdif : as above + changes for S/PDIF output.
- udoo-android-4.3-v2.0-with-sata : as above + SATA suport (needs a partition on the HDD)
- master : Bleeding edge / experimental.
I suggest reading my previous article HowTo: Fork Android on GitHub to get an overall background about the development workflow / forking process.
Prepare the system
sudo apt-get install git gnupg flex bison gperf build-essential zip curl \
  libc6-dev libncurses-dev x11proto-core-dev libreadline-dev g++-multilib \
  mingw32 tofrodos python-markdown libxml2-utils xsltproc zlib1g-dev \
  libc6-i386 lib32stdc++6 lib32gcc1 lib32ncurses5 lib32z1 ia32-libs \
  file psmisc uuid-dev liblzo2-dev libswitch-perl

git config --global user.name "My Name"
git config --global user.email "my@email.com"  # These are required to repo sync
Install Oracle Java 6 SDK
Oracle's Java 6 SDK is required to build Android. You need this version (it doesn't have to be the default, though).
Don't try to install other versions or use OpenJDK. It will not work (at least, not with Android 4.3).
Download jdk-6u45-linux-x64.bin from the Oracle website
chmod +x jdk-6u45-linux-x64.bin
./jdk-6u45-linux-x64.bin
sudo chown root. -R jdk1.6.0_45
sudo mv jdk1.6.0_45 /usr/lib/jvm/java-6-sun
export JAVA_HOME=/usr/lib/jvm/java-6-sun
export ANDROID_JAVA_HOME=$JAVA_HOME
Download git-repo
curl https://storage.googleapis.com/git-repo-downloads/repo > /tmp/repo
sudo cp /tmp/repo /usr/local/bin/repo
sudo chmod 755 /usr/local/bin/repo
Sync the Android repo
mkdir udoo && cd udoo
repo init -u https://github.com/primiano/udoo_platform_manifest
repo sync -c -j4  # -j20 if your internet connection is *really* fast.
Set up the build environment
export ARCH=arm
export CROSS_COMPILE=$PWD/prebuilts/gcc/linux-x86/arm/arm-eabi-4.6/bin/arm-eabi-
export PATH=$PWD/bootable/bootloader/uboot-imx/tools:$PATH
source build/envsetup.sh
lunch udoo-eng
Build
# Build the bootloader first
pushd .
cd bootable/bootloader/uboot-imx
./compile.sh
popd

# Then the Android image
make -j8 droid
Flash the entire image
# Find out the device for the sdcard with lsblk, e.g., /dev/sdc
sudo OUT=$OUT ./make_sd.sh /dev/sdX
Building only the kernel
The kernel sources live in the kernel_imx/ folder.
The kernel is typically build as part as the Android image (the droid target). However, if you want to test kernel-only changes, you might want to save time regenerating and re-flashing only the $OUT/boot.img).
Remember that the Android build steps will overwrite the .config file with the contents of arch/arm/configs/imx6_udoo_android_defconfig.
make -C kernel_imx menuconfig
cp .config arch/arm/configs/imx6_udoo_android_defconfig
make bootimage -j4
dd if=$OUT/boot.img of=/dev/sdX1 bs=4096 conv=fsync